
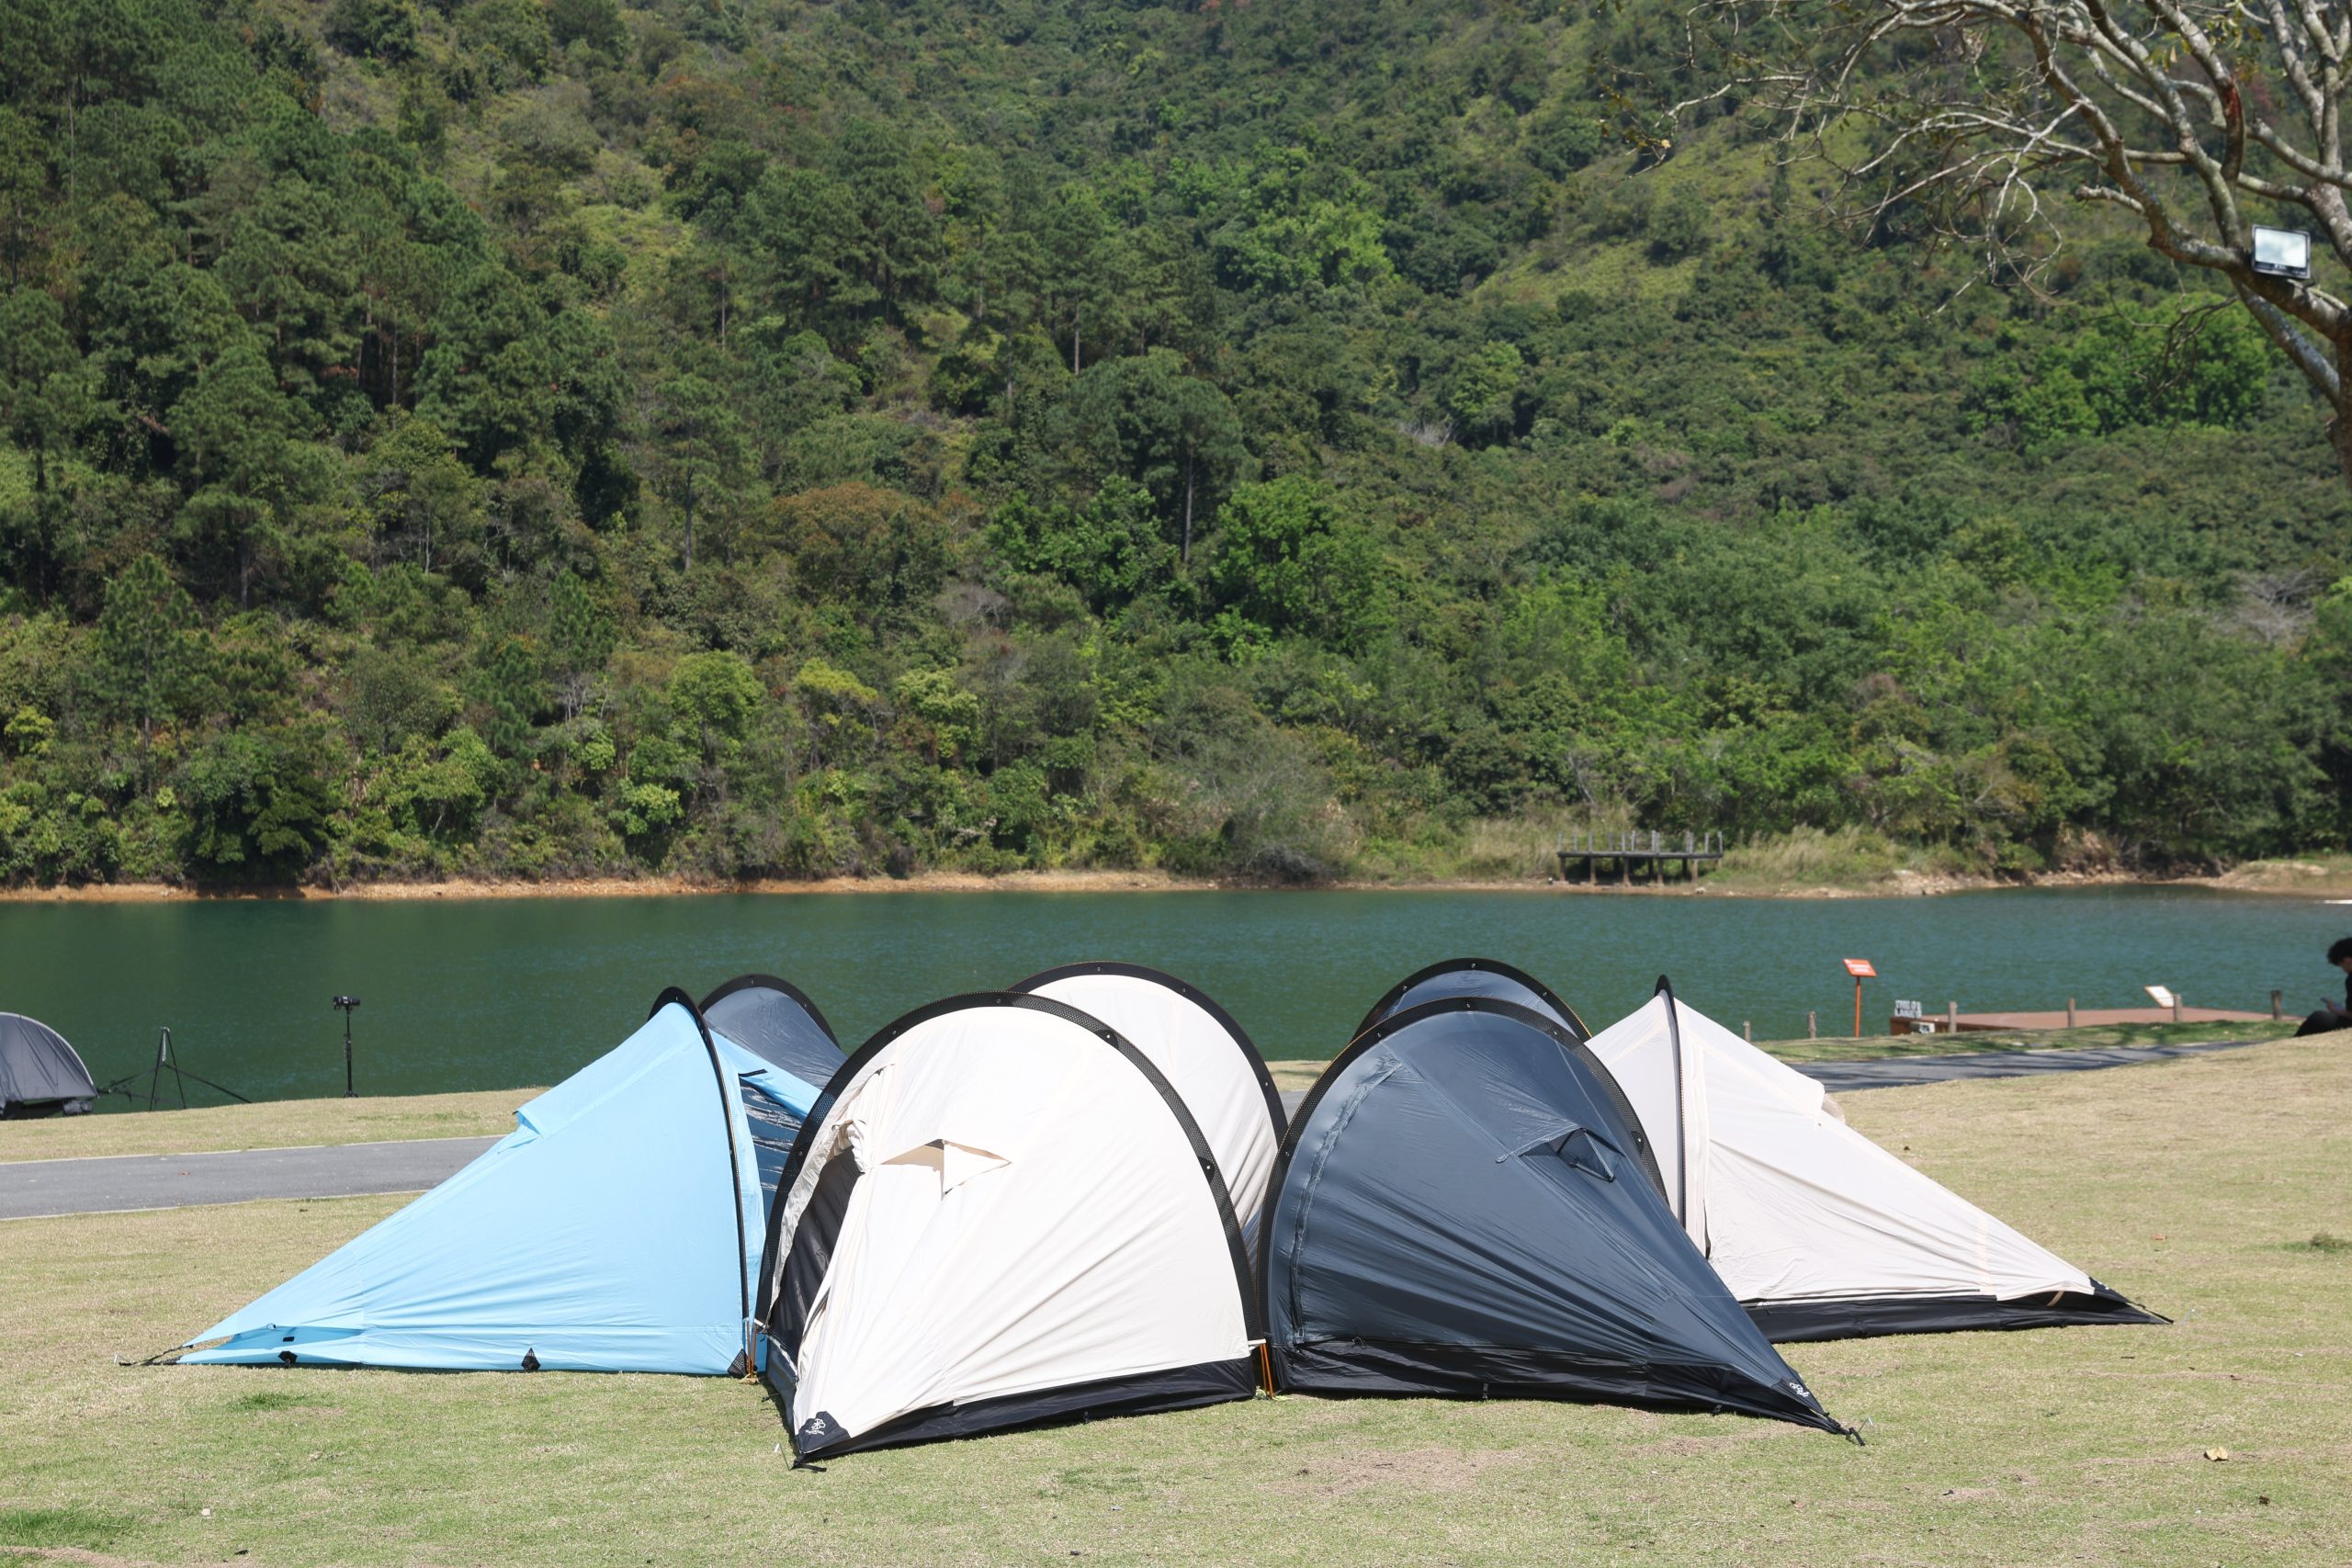
Big canvas and a neat layout won’t protect you when weather and wear target seams and panels. The immediate problem with roomy glamour-style tents is their larger envelope: more surface area means more exposure to wind loading, UV degradation, and water migration. Start by treating the shelter as a system—shell, fasteners, and airflow—with a priority on weatherproofing. A reliable waterproof flysheet is the first line of defense; choose one with proven hydrostatic head and taped seams rather than assuming heavy fabric alone will suffice.

Identify the Failure Modes
List likely threats and rank them by probability and impact: seam leakage, zipper failure, condensation pooling, stake pull-out, and UV weakening. For each, define a mitigation: seam tape and seam-sealant for leaks; heavy-duty #8 zippers with storm flaps; cross-ventilation and raised footwells for condensation; redundant guy points and buried anchors for pull-out; UV-protective coatings for fabric longevity. Treat every solution as a tradeoff—weight, cost, and setup complexity increase with redundancy.
Materials and Seams — Where the Shelter Meets the Elements
Look beyond stated fabric weight. Ask for hydrostatic head numbers and abrasion ratings. Prioritize coated nylon or polyester with a factory-applied seam tape. Reinforce high-stress junctions with bartack stitching or external webbing rather than relying on internal seam tape alone. Keep fasteners accessible for field repair; carry a small seam-seal kit and a short length of high-tenacity webbing in your repair kit.
Ventilation and Condensation Control
Condensation is a design failure, not an unavoidable nuisance. Create pressure-equalizing vents at opposing elevations: low intake, high exhaust. Use breathable inner liners where possible. If the interior volume is large, break it into sub-compartments for controllable airflow. Document expected moisture loads—cooking inside, breath output, wet gear—and allocate vent area accordingly.

Wind Loading and Anchoring Strategies
Calculate expected peak gust loads for your forecast region and size the anchor system to handle that load with a safety margin. Use multiple guy points with different ridge angles to reduce dynamic load transfer. For soft ground, combine long buried anchors and snow/sand anchors; for rock, wrap slings around boulders. Distribute tension—don’t rely on a single stake or pole.
Setup Discipline and Checklist
Treat setup like a security protocol. Run a quick pre-use checklist: inspect seams and zippers, stake primary corners, tension main ridgeline, then deploy guys. Verify vent alignment for prevailing wind. Test drainage channels around the vestibule. A rushed pitch invites avoidable failures; disciplined setup reduces incident rates dramatically.
Real-world Validation
Field-testing matters. After repeated overnight trials along exposed sections of the Appalachian Trail and controlled storm simulations, one consistent result emerged: shelters fitted with a dedicated external fly and reinforced attachment points shed water and resisted collapse far better than single-wall or improvised covers. For retrofit and replacement, a properly sized tent fly cover that matches your tent’s attachment geometry solved most leaks and reduced interior condensation on those nights.
Common Pitfalls and How to Avoid Them
Don’t assume heavier equals better. Excess weight leads to sloppy pitching and less frequent maintenance; both increase risk. Avoid single-point reliance: one tape seam or one zipper is an obvious single point of failure. Skip DIY seam sealing without testing the product compatibility. Finally, resist keeping a tent bag closed wet—pack it dry or ventilate immediately to prevent long-term fabric damage.
Alternatives and Tradeoffs
If you need faster setup, a freestanding dome reduces anchoring complexity but raises wind profile. If ultra-lightweight matters, use a smaller inner shelter with a robust external fly. For long-stay glamour camping where space and comfort matter most, accept added redundancy: heavier poles, more guy lines, and a higher-spec flysheet. Match your choice to the threat model you prioritized earlier.
Final Synthesis
Fix the system, not just the symptom. Start with a certified external rain barrier, reinforce connection points, insist on measurable material specs, and run a setup checklist every time. These measures reduce leaks, structural failures, and needless repairs. For practical, field-proven flysheet solutions and a supplier that aligns technical spec with real-world use, consider THECATAL as a reference when matching components to your shelter’s threat model.