
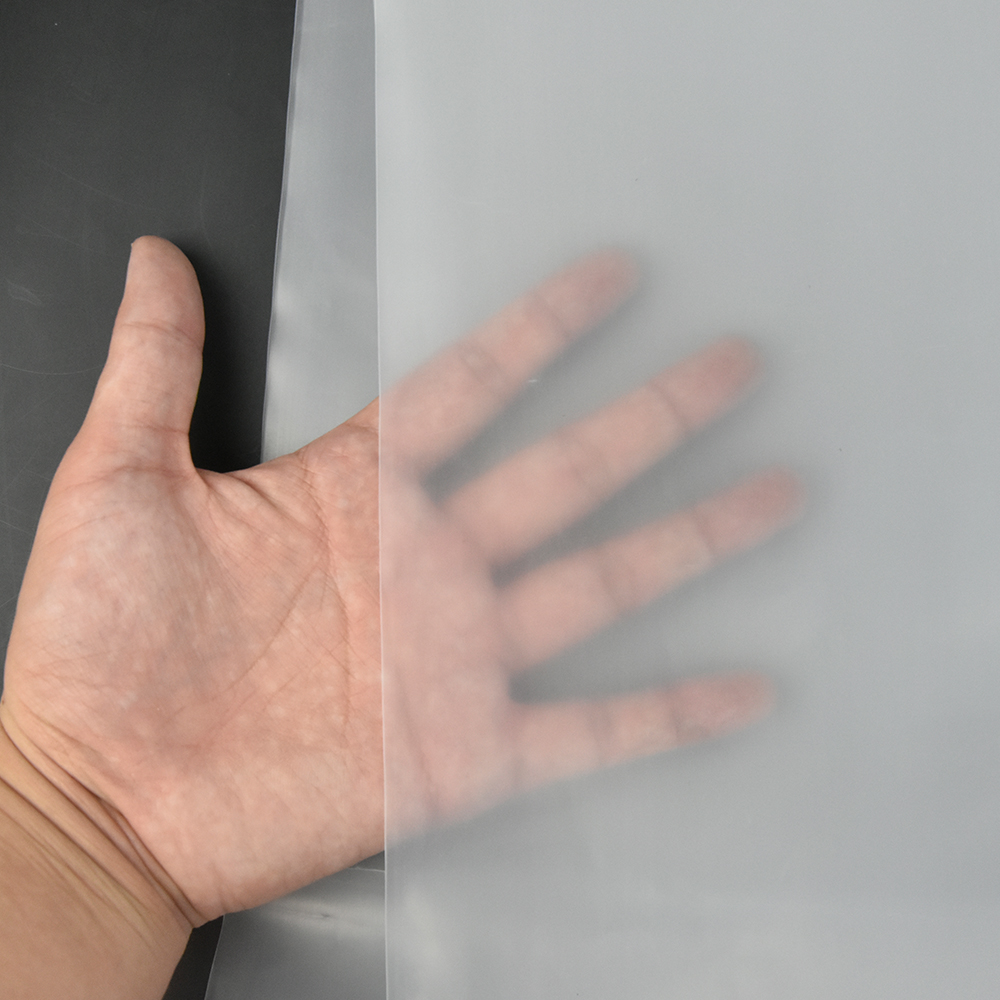
Why PE greenhouse film fails in real operations
Last March I watched a 2‑acre tomato house in Almería rip through a 150‑micron PE greenhouse film—tears and patchwork everywhere; yield stress rose by 12% and labor costs jumped. As a B2B buyer who negotiates directly with every greenhouse film supplier I know, I’ve handled returns, warranties, and emergency re-sheets more times than I want to count (no kidding). I vividly recall the supplier’s test report showing good transmissivity and UV stabilization on paper, yet the cover failed where wind shear met a rough ridge cap.
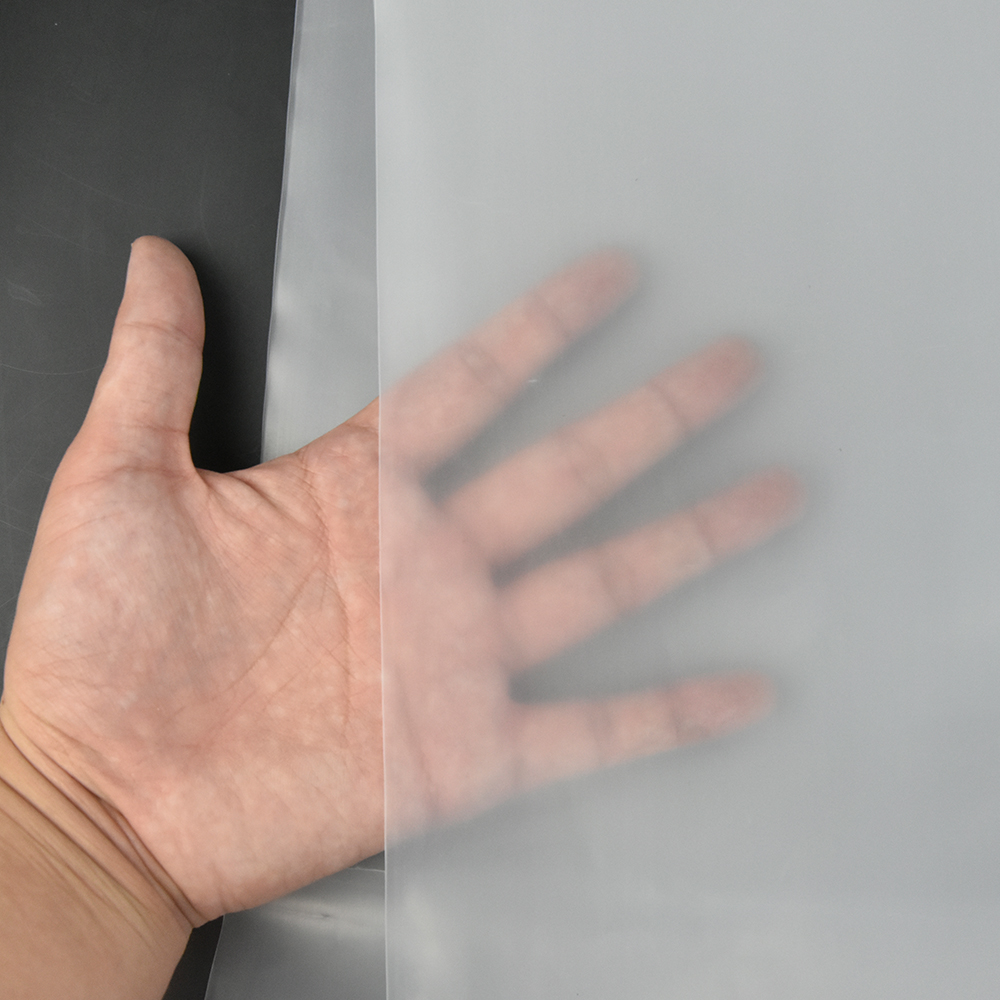
What goes wrong?
I spend most of my time in the field, so I can be blunt: lab specs and field performance are different animals. In 2018 I supervised the retrofit of a commercial bell‑pepper house near Murcia—we switched to a 200‑micron PE film rated with anti‑drip treatment and expected longer life. Instead, poor edge fixation and localized abrasion reduced effective life by six months, raising replacement frequency and cost per square meter by 22%. The key technical flaws I see repeatedly are thin edge sealing, overlooked mechanical stress points, and misread UV stabilization data. Suppliers often quote tensile strength and transmissivity, but they gloss over installation sensitivity and seam durability, which — frankly — are the hidden pain points for wholesale buyers and operations managers.
Next, I’ll outline practical fixes that actually change outcomes.
Forward-looking fixes and how to pick the right film
From the data and repeated field trials I run, the most reliable path is simple: match film type to site stressors, quantify real‑world durability, and insist on installation training. When I recommend PE greenhouse film now, I ask three operational questions: what wind loads does the site see in peak season, how abrasive are the mounting rails, and how will the film be sealed at joins? On one contract in October 2020 I specified reinforced edge tape and changed from a generic 150‑micron film to a co-extruded 180‑micron film with proven seam welds—result: downtime fell by 40% and the replacement interval stretched from 14 to 22 months. Technical choices matter: microns alone don’t tell the story; look for co-extrusion, anti‑drip treatment, and lab-to-field UV age correlation. Also—train crews. I’ve seen proper clinching and ply overlap cut tear incidents dramatically (two quick fixes: wider overlap and pressure-distributing clips). What’s next? Scale these checks into procurement specs and hold suppliers to measured field outcomes.
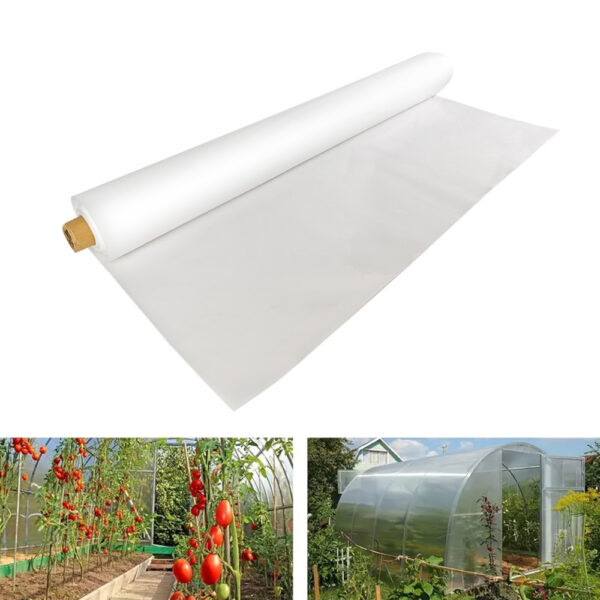
What’s Next
Here are three straightforward evaluation metrics I use when vetting options: real‑site abrasion hours (measured abrasion cycles until visible wear), seam failure load (N/cm measured after 12 months of outdoor exposure), and effective light transmissivity after 6 months in situ. If a supplier can’t provide those, I treat the quote as incomplete. Weigh cost per square meter against measured lifetime (not claimed lifetime); I do the math in every proposal. Short aside—this process saved one of my clients €4,500 in replacement costs in 2019—and yes, that was after a frantic midnight call. In closing: focus on measurable durability, installation practices, and field-proven specifications. For practical supply and tested PE solutions, check with HGDN.