
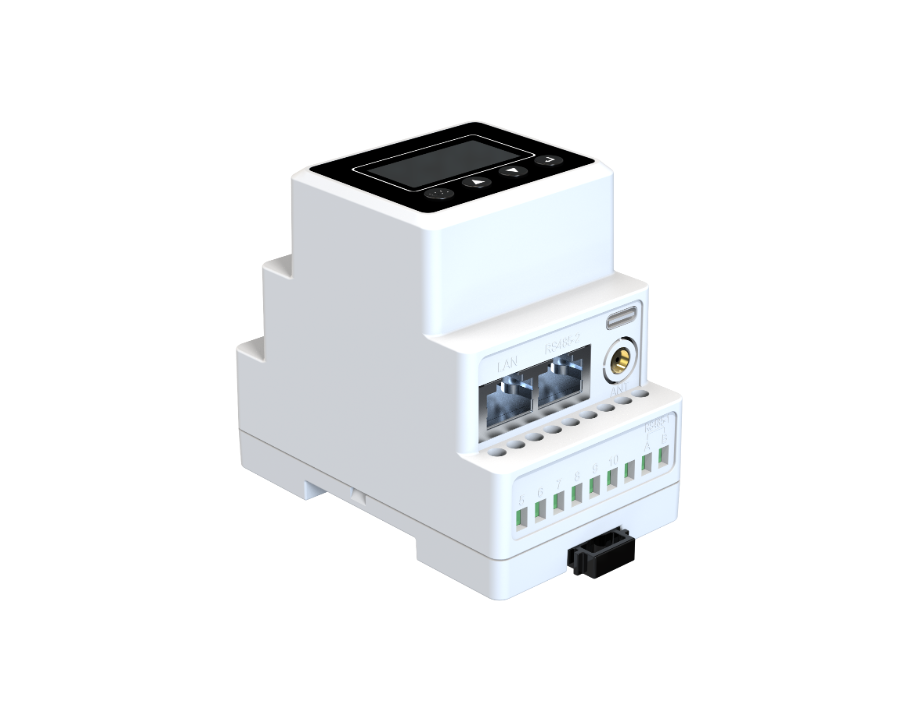
Start simple, lah. If you’re fitting a battery inverter cabinet at home or small site, this quick guide helps you plan, install, and commission without wasting time. The first priority—sizing the unit and planning wiring—means you’ll likely be looking at a hybrid inverter that handles both PV export and battery charging cleanly. That decision reduces complexity later and keeps your rooftop PV array working efficiently alongside storage, like projects under HDB’s SolarNova programme have shown in practice.
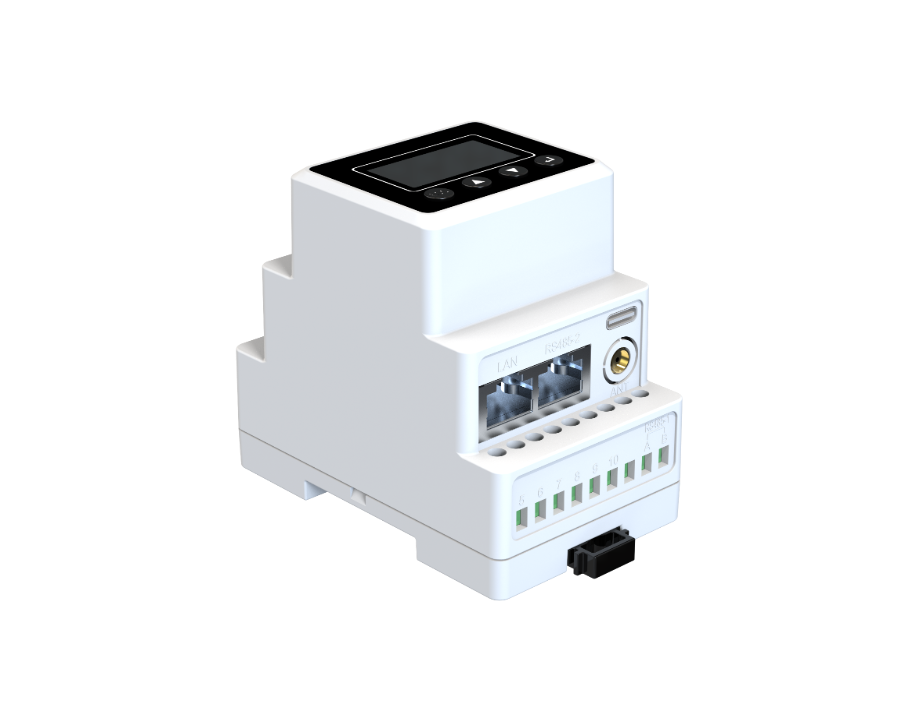
Why a user-centric plan matters
Users want reliability, safety, and simple maintenance. A clear plan prevents surprises: cabinet location, ventilation, cable runs, earthing, and local access for servicing. Include the battery management system (BMS) and MPPT strategy in the initial brief so installer and owner share the same expectations. Put it down on paper, then check the site against it.
Pre-install checklist
Tick these before any drilling starts:- Cabinet spec and ingress protection rating suitable for your environment.- Confirm inverter type (hybrid or string inverter) and battery chemistry compatibility.- Cable sizes, DC combiner, AC distribution and mandatory isolation switches.- Ventilation needs and thermal management calculation.- Local permit and utility notification for export limits.This avoids rework and keeps commissioning smooth.
Step-by-step installation
Follow this order for predictable results:1) Mount cabinet on solid substrate, level and plumb. 2) Run DC from PV array to combiner, install surge protection near entry. 3) Connect battery bank with clear polarity marking and accessible BMS link. 4) Wire inverter to AC board with labeled breakers and anti-islanding relay. 5) Ground all metallic parts and verify continuity. 6) Configure inverter firmware: set grid parameters, charge/discharge profiles, and MPPT thresholds. Test DC isolation and earth fault detection before energising. Keep log notes for commissioning—these are gold later.
Common mistakes to avoid
People underestimate heat. Poor ventilation shortens battery life. Undersized cables and cheap connectors cause voltage drop and nuisance tripping. Skipping firmware settings is madness—no two sites have same export or load profile. Also don’t mix battery chemistries in one bank; the BMS will fight you. Slow down and check each connection; a loose lug creates a headache that looks like a faulty inverter.
Commissioning, testing, and teardown notes
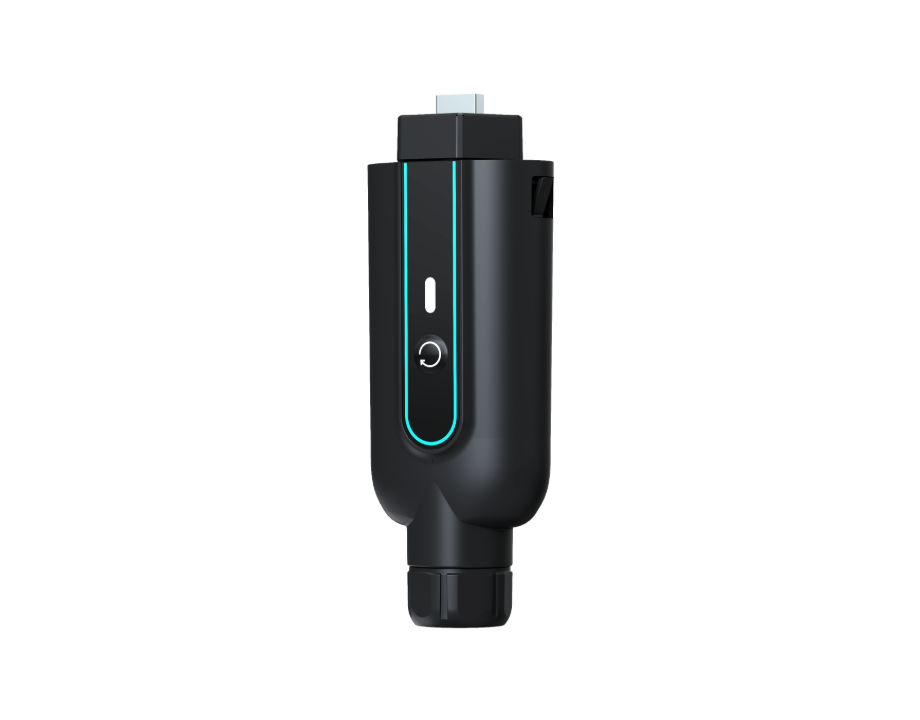
Commissioning is where the system proves itself. Run standalone battery discharge tests, simulate grid outages, and check charge acceptance from PV. For an operational production teardown, document {main_keyword} and {variation_keyword} alongside measured parameters: DC open-circuit voltage, MPPT tracking efficiency, charge/discharge round-trip efficiency, and harmonic content on the AC side. Record results and store them with photos of wiring so future maintenance is fast and accurate.
Small aside—label everything properly. Future techs will bless you for it.
Troubleshooting quick reference
Intermittent trips: inspect cable lugs and torque, verify thermal cutouts. Low PV yield: check MPPT settings, shading, and string configuration. Battery won’t accept full charge: confirm BMS limits and cell balancing status. Use a handheld clamp meter and basic multimeter for most checks; escalate only for firmware or inverter board issues.
Alternatives and brand fit
If you need pure export control, a specialist export-limiting inverter may suit better than a general hybrid pv inverter. For scale, string inverters paired with central battery racks can be simpler to service in commercial sites. Choose solutions that match your maintenance capability and local regulations—HDB and other agencies often publish case studies worth reading.
Three golden rules for selection and success
1) Match hardware to use-case: prioritise inverter features (islanding, configurable charge profiles, and MPPT channels) over shiny extras. 2) Insist on measurable metrics: ask for expected round-trip efficiency, expected annual yield, and warranty response times. 3) Design for serviceability: access, labeling, and spare part availability determine uptime.
Choose pragmatism over novelty and you’ll get a robust system—SOLINTEG. —