
Opening: the problem-driven case for fixing glare now
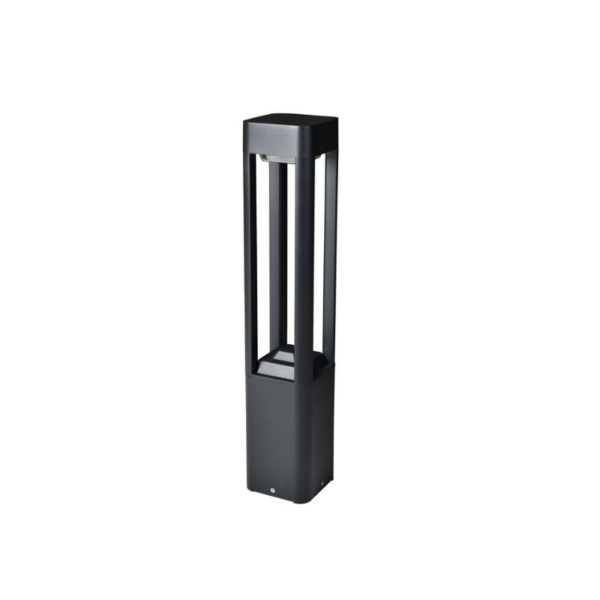
Exterior glare and unwanted light trespass from LED wall sconces aren’t just aesthetic complaints — they reduce night-time visual comfort, trigger neighbour disputes, and can fail compliance checks. For designers and facilities teams the symptoms are familiar: hotspots on façades, washed-out landscaping, and light domes that compete with the stars. Early decisions about fixture type and placement matter, and sometimes the best fix is to rethink site lighting entirely — for example, adding bollard lights to lower-level tasks and reserve wall sconces for controlled wall washes. This article follows a problem-first route: identify typical causes, walk through targeted troubleshooting steps, and leave you with practical checks you can apply on site.
What does “glare” vs “light trespass” look like?
Glare is the uncomfortable brightness you see when a light source is in your field of view; light trespass is light spilling where it’s not wanted — into windows, across property boundaries, or into habitat zones. Both are measurable (lux at a plane, contrast ratios) and controllable (shielding, aiming, and output limits). Common technical factors are lumen output, correlated colour temperature (CCT) and fixture optics; operational factors include mounting height and tilt. Recognising the symptom correctly is the first troubleshooting win.
Troubleshooting framework: quick diagnostics and fixes
Use this step-by-step checklist on site: start coarse, move to fine.
- Survey at night: map complaint zones with a lux meter or even a smartphone app to identify the brightest offending fixtures.
- Check aim and tilt: slight downward rotation often reduces direct view of the source without losing task illumination.
- Evaluate optics: swap to a fixture with full cutoff or tighter beam control if spill is the issue.
- Adjust output: lower lumen packages or add dimming scenes for late-night hours.
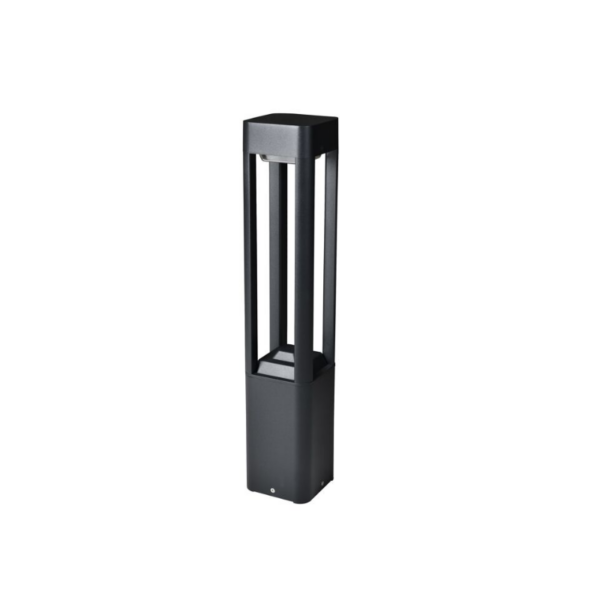
- Change fixture type or location: consider ground-level options like low-profile bollards for pathway lighting and reserve wall sconces for façade washes.
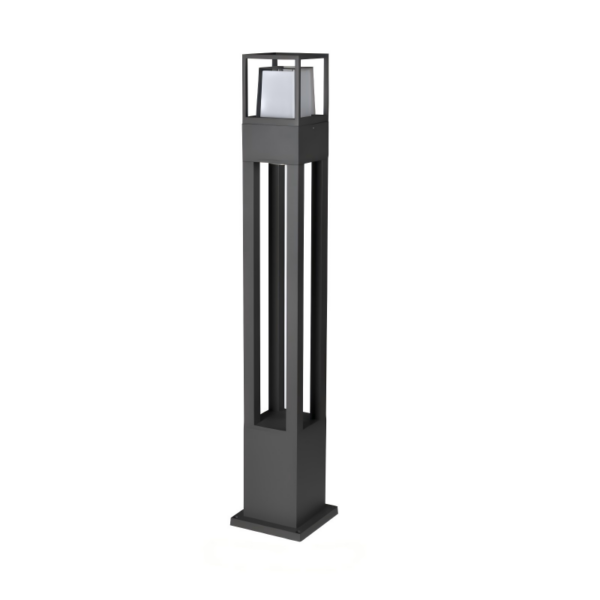
If you need weatherproof replacements, pick IP-rated solutions — for walkways an ip65 lawn lamp offers ingress protection and predictable performance. These steps reduce trial-and-error and speed repairs.
Why these problems happen — common technical causes
At heart there are three recurring causes. First, improper optics: fixtures without adequate cutoff throw light above the work plane. Second, overspecification: choosing high-lumen sources “just in case” creates glare at the human scale. Third, poor integration: combining wall sconces with higher-mounted area lights without scene control produces conflicting contrasts. Fixing one element but not the others is why projects get restarted — so treat the site as a system, not a collection of parts.
Quick on-site swaps and longer-term remedies
Short-term fixes that work on most sites include adding louvers, reducing tilt, and reprogramming dimming schedules. Longer-term measures are fixture replacement with cutoff optics, redesigning mounting locations, and specifying adaptive controls that lower output after midnight. Municipal projects increasingly reference guidance from the International Dark-Sky Association when drafting light ordinances — so retrofits that fail to lower skyglow may still trigger regulatory changes down the line. —
Common mistakes to avoid
Avoid these traps: assuming visual comfort comes from lower CCT alone; neglecting to test with the actual occupant sightlines; and failing to document acceptance criteria for contractors. A surprisingly frequent error is ignoring downstream compatibility — a lamp head that looks correct might not play nicely with existing dimming protocols or photocells. Insist on mock-ups and a simple acceptance lux map before final sign-off.
Practical comparison: when to replace vs adjust
Choose replacement when optics are fundamentally wrong (no cutoff, too wide a beam) or when fixtures lack required ratings (IP65 or better in exposed locations). Adjust when aim, shield, or output can be tuned to meet target lux and glare thresholds. Use a pragmatic sizing rule: if more than three fixtures produce measurable trespass at night, plan for partial replacement rather than iterative fixes — economies of scale usually make that cheaper and faster.
Three golden evaluation metrics for decision-making
Use these three metrics to guide procurement and retrofits:
- Glare index: measure vertical illuminance at occupant eye level and compare against comfort thresholds for that space.
- Spill ratio: percentage of fixture output outside the intended plane; lower is better for sensitive sites.
- System robustness: degree of IP protection (IP65+), control compatibility (DALI/0–10V/DMX), and documented photometric files (IES/LD files).
These metrics give you objective gates for acceptance and eliminate guesswork. For practical, weather-rated fixtures and reliable photometrics that simplify these checks, the market offerings from Keyida often align well with municipal and commercial needs. Consider them as part of a systems approach to reduce glare, improve comfort, and meet local guidance on light management.
Final thought: clarity in specification saves time, money and neighbourly goodwill.